
Introduction
For those who carry a concealed firearm, mastering the draw is one of the most important skills to develop. In a self-defense situation, speed, precision, and control are crucial. Practicing the proper draw technique ensures that you are ready to respond effectively, should the need arise. Below is a step-by-step guide to help you draw your concealed carry weapon correctly and efficiently.
Step 1: Clear Your Shirt to Access Your Weapon
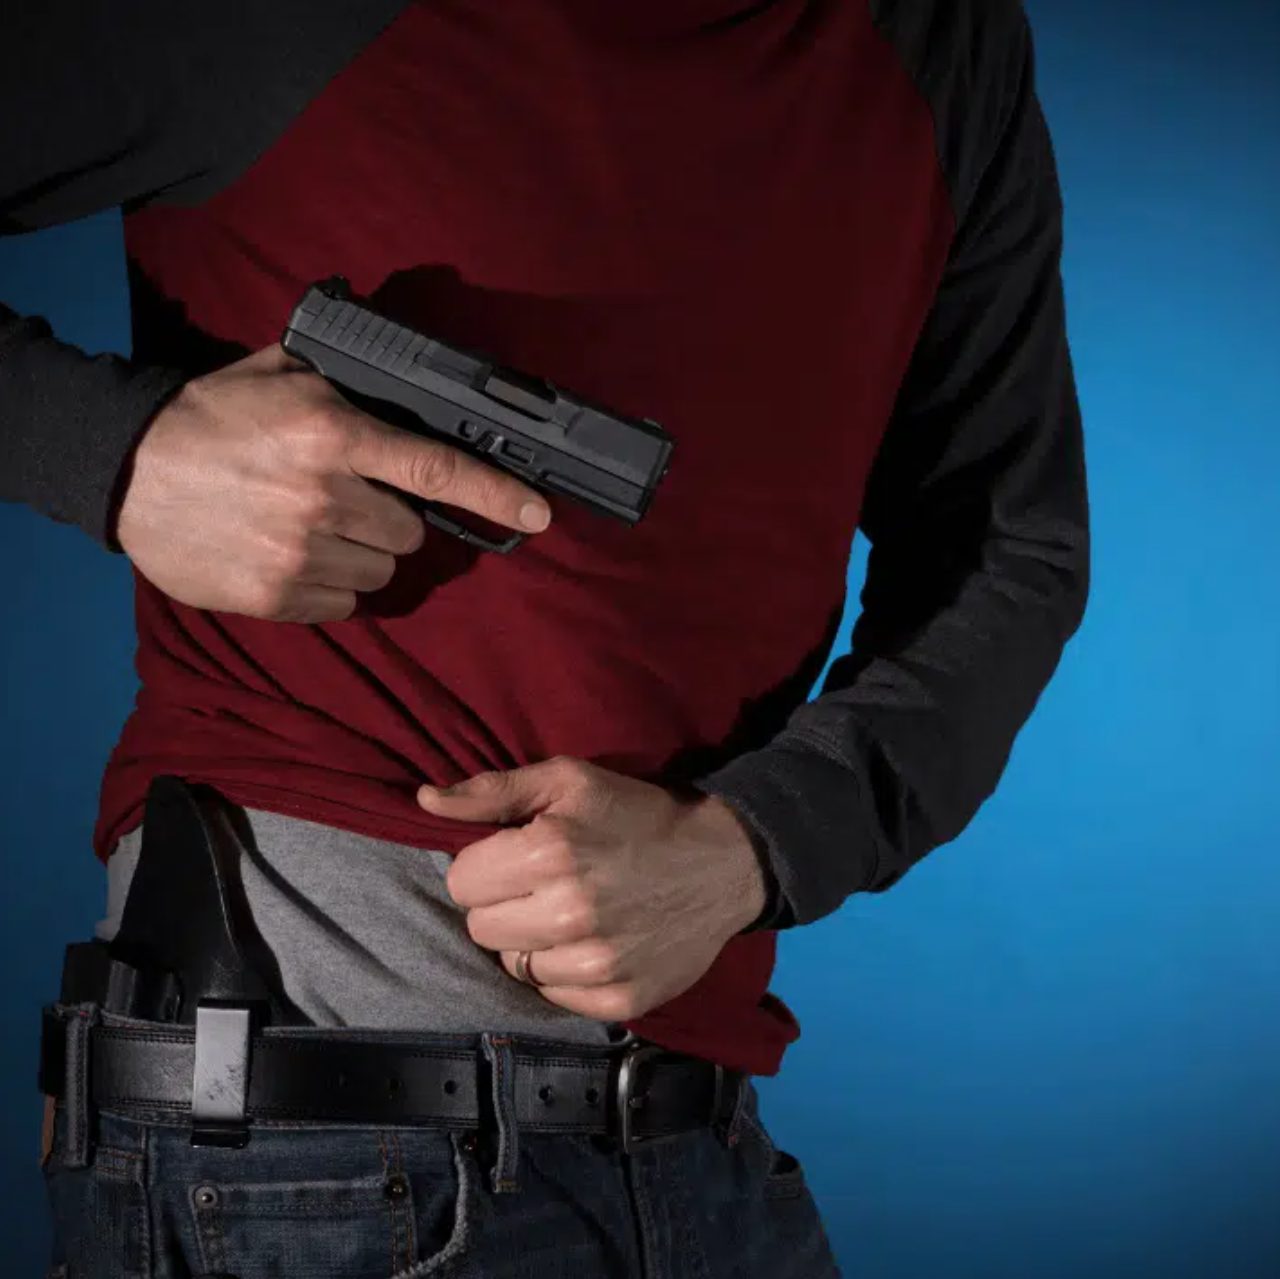
The first step in any concealed carry draw is to clear the obstruction of your clothing. To do this, use your non-dominant hand to grab a handful of your shirt near the waistband and forcefully yank it up towards your chin. This motion needs to be deliberate and powerful to ensure the gun is fully exposed. Clearing the shirt quickly prevents fabric from getting in the way when you reach for your firearm. If you fail to grab a handful or don’t yank it up hard enough, then you are at risk of pulling grabbing your gun with fabric in your hand which could result in you dropping it or misfiring.
Pro Tip: Practice this movement repeatedly to ensure it becomes second nature. Your goal is to lift the shirt high enough that it won’t fall back down or obstruct your access to the gun.
Step 2: Jam Your Hand into the Handle of the Gun
Once your shirt is cleared, the next move is to jam your dominant hand into the handle of your firearm. This motion should be aggressive, ensuring that your grip is firm and secure from the moment your hand makes contact with the gun. Achieving a solid grip right away will reduce the chances of fumbling and improve the speed and accuracy of your draw.
Grip consistency is critical here. You want to develop muscle memory so that each time you grab the handle, your hand naturally falls into the correct position.
Pro Tip: Spend time focusing on grip training, both with an unloaded weapon at home and during live-fire exercises at the range, so you can lock in that perfect grip every time.
Step 3: Pull the Gun Out and Rotate While Keeping It Low and Close to Your Ribs
With your shirt out of the way and your hand securely gripping the firearm, pull the gun out of the holster in a smooth, controlled motion. As you draw, begin to rotate the gun toward the target while keeping it low and close to your ribs. This retention position is important because it keeps the firearm in a protected stance, close to your body, and ready to engage a threat without overexposing the gun.
Keeping the firearm near your torso helps protect the weapon in close-quarters combat and allows for rapid engagement in tight spaces. It also reduces the chance of your arm being intercepted or the gun being grabbed.
Pro Tip: Train at the range to practice engaging from this low and close position. Many real-world defensive encounters require shooting from this protective stance.
Step 4: Push the Gun Forward Towards the Target and Secure Your Non-Firing Hand
Once the gun is drawn and rotated toward the threat, the next step is to push the firearm forward toward your target, extending your shooting hand. As you extend the gun, bring your non-firing hand forward to meet your firing hand, forming a two-handed grip. This final position, with both hands on the gun, gives you greater control, stability, and accuracy, particularly for follow-up shots or longer engagements.
By securing a strong two-handed grip, you also increase your ability to manage recoil and maintain control of the weapon. This allows for faster and more accurate follow-up shots if the situation requires it.
Pro Tip: Practice transitioning smoothly from a close-quarters draw to a full two-handed shooting stance. This will help ensure that your movements are fluid and natural when you’re under stress. Practice this sequence in front of a mirror at home. MAKE SURE THAT YOUR WEAPON IS COMPLETELY UNLOADED AND YOU ARE PRACTICING IN A SAFE LOCATION.
Conclusion
Properly drawing your concealed carry weapon is a skill that can be honed with deliberate practice and attention to detail. By following these four steps—clearing your shirt, securing a firm grip, drawing and rotating close to your ribs, and pushing the gun forward with a two-handed grip—you can build the muscle memory needed for a fast and effective response in a defensive situation.
Training these steps regularly at a range or in dry-fire practice is essential for maintaining your readiness. Remember, the key to a successful draw is efficiency and control. The more you practice, the better prepared you’ll be if you ever need to defend yourself or others.